I mentioned that I started selling gift cards at my September show, and that they really saved me. The cards generated a lot of interest
I've had a number of people ask about making gift cards...specifically, what kind of cards I use and how the process works.
Materials
The cards I buy are the Strathmore white photo mount cards. I've looked all around, and the best price I've found is the 50 pack at Dick Blick. If you are only buying 1 box, its cheaper to go into the store and pick them up because of the shipping cost for ordering online (my local Dick Blick sells them for about $17). However, if you are are ordering multiple packs, sometimes the Dick Blick website works out cheaper. I've seen Dick Blick's web price as range from $12 to $17 per box , and with shipping that comes out to somewhere between 30 and 50 cents a card (depending on the quantity)
In addition, if you order online through Ebates, you can get a 6% refund on the cost. Instead of going to the Dick Blick website, you go to the Ebates website and go into the stores section, find the link to Dick Blick Art Materials and click on it. It will take you to the Dick Blick website where you can make your purchase. That's all you have to do. No need to send in any UPCs or wait for a rebate. They send it to you automatically. You need to signup for an Ebates account first, but it's free, and they offer you rebates for a ton of other stores (BestBuy.com, Target.com, etc).
If you don't have an Ebates account already, you can sign up by clicking here.
Signing up through this link and making a purchase will also get you a $10 signup bonus.
So that takes care of the cards. The next thing you need are the photos to go on the card. Any 4x6 print will work. Of course, the cheaper the better. Costco offers 4x6 prints for 17 cents. The 2 things I like about costco's prints are
1) They quality is excellent...printed on Fuji Crystal Archive paper, so it looks great and lasts long
2) They offer the option of printing on luster paper instead of glossy. The advantage of this is that a gift card, unlike a framed print, is likely to be handled quite a bit. Glossy prints show fingerprints really easily. However, because of the Luster paper's textured surface, they continue to look clean after normal handling.
Next, on the back of the card you are going to want to have your name and contact info. While you could print it or handwrite it on the card, I found it easiest to print it on an address label and stick that on the back. For the label, I used the Office Max brand 1" x 2 5/8" Inkjet Address labels 750 pack (Item # 07111118). These sell for $8.99.
If you purchase from Office Max by going through the Ebates website, you can get 4% back.
You can sign up by clicking here.
Finally, you are going to want some sort of bag to put the card in. The best bet would be to get a clear bag like you'd use for a matted print. However, when I did my cards I was in a hurry and couldn't get any bags in time. Instead, I just used Target brand Quart size zip seal bags. 50 packs Sell for about $2
Thats all you need. So assuming a price of about 50 cents per card (though it could be less), 17 cents for the print (if you go through costco), another 1 cent for the label, and 4 more cents for the bag, the combined price is under 75 cents. Cards like this can easily be sold for $5 each (I sell $5 each, or 3 for $12)
Assembly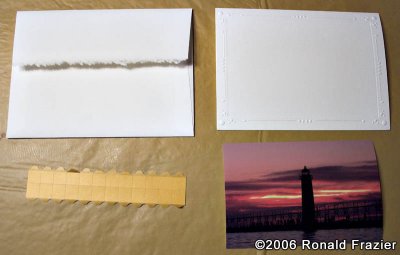
Here's the materials for putting it together
Apply sticky tabs to the back of the photo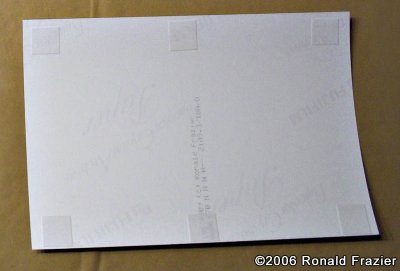
Peel backing off of the sticky tabs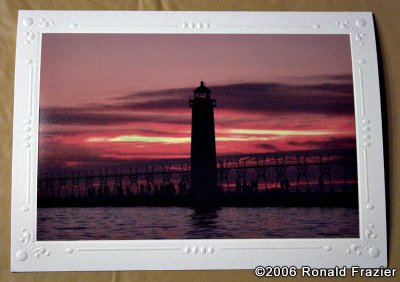
Apply the photo to the card and apply gentle pressure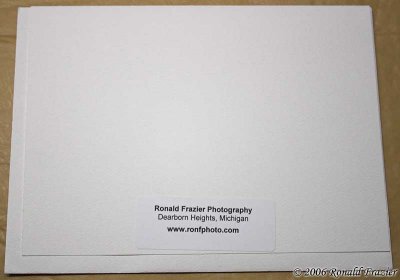
Apply label to back of card, and stick envelope inside card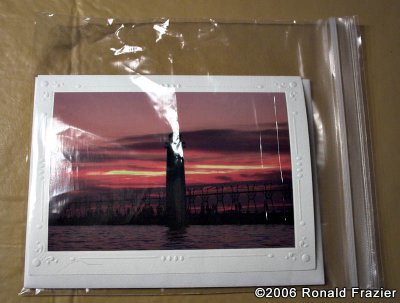
Put card and envelope into bag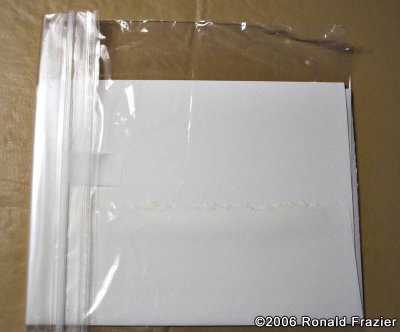
Fold bag flap and tape to back
(Note: I messed up on this photo...the label should have been visible)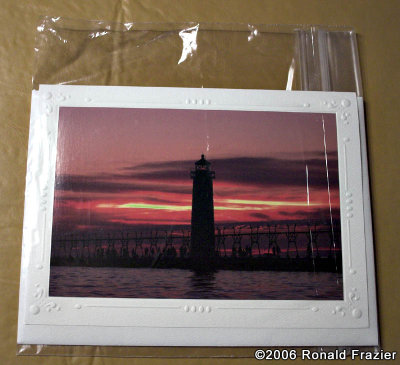
And here is the finished product.
Wednesday, February 07, 2007
Making gift cards
Money Saving Tip
Money Saving Tip
Subscribe to:
Post Comments (Atom)


2 comments:
Ron,
Thanks for your blog. Over the last couple of days I've read through from the beginning. Very practical info and a great read. Looking forward for more!
Hey Ron -
You probably would not remember me, but I commented on your post about Matte Cutters a while back. I found your post to be very helpful. I had some questions about how to number prints, since I am new to this whole Print making thing, and I am trying to sell stuff etc, and figured you might know.
Primarily, my questions center on how, if at all, one differentiates between large prints and small prints of the same image. If I title it the same thing, but print an 8x12 of it, after already printing a 16x24, do I change the numbering? Lets say I commit to only printing 250: is the smaller print 2 of 250 or should I do a new series on the smaller ones?
Also - lets say I cropped the original image because I wanted to frame it in a smaller frame, but I intend to produce a print at full frame/uncropped, and want to call it the same title?
Any help you might be able to give me would be really appreciated. Thanks for your time and advice.
Cheers
Post a Comment